Capture video window
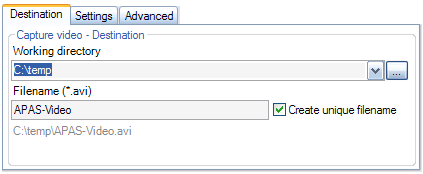
Destination
If you have a video capture device available, you can capture
video directly to the hard drive. Before proceeding with the capture process
verify the following settings:
| Setting |
Description |
| Working directory |
This is where your files will be stored |
| Filename |
This is the name of the video file that will be stored |
| Create unique filename |
If this option is checked APAS/Wizard will automatically append a
sequence number to the video file instead of overwriting any existing
videos. It is recommended to leave this checked to speed up the process. |

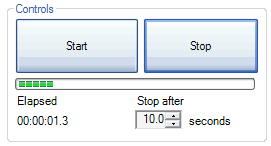
Start and stop capture
Use the following for starting and stopping capture:
| Setting |
Description |
| Start |
To start capturing video directly to the hard disk |
| Stop |
To stop the video capture process.
Note that the process will also stop after the indicated
number of seconds |

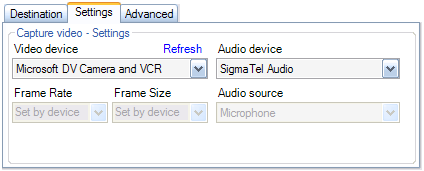
Settings
Select the settings that you need:
| Setting |
Description |
| Video device |
Select your video capture device if more than one is available |
| Frame rate |
Select preferred frame rate |
| Frame size |
Select preferred frame size |
| Audio device |
Select your audio capture device if more than one is available |
| Audio source |
Select your audio source if more than one is available |

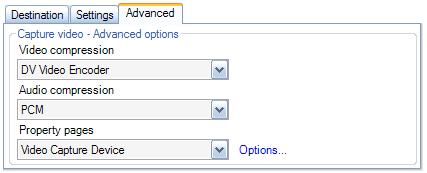
Advanced settings
Select the advanced settings that work best for your application:
| Setting |
Description |
| Video compression |
Select preferred video compression |
| Audio compression |
Select preferred audio compression |
| Property pages |
Select a category and choose Options... to
change its settings |
Note: not all combinations of settings may be possible on your system.

See also