Shoulder Analysis
A computer kinematic assessment is performed for shoulder flexion/extension,
abduction/adduction, internal and external rotation. The Examinee is asked to
perform each maneuver 8-10 repetitions to full range and as quickly as possible.
The events were video taped in a precisely calibrated field for computer
analysis. Each event is analyzed for total dynamic range of motion and peak
velocity quantity and quality. Consistency of results [coefficient of variation]
is considered for determining Examinee effort. After a thorough discussion of
expectations, and agreement of understanding by the Examinee, the Examinee is
asked to perform the movement events.
Preparation
- APAS - CAPDV;
- Chair
- DV Camcorder with firewire connection to the data collection computer;
- Calibration frame.
 |
 |
| Large frame |
Small frame |
Room Setup
- Clear the working area of any obstructions that may block the camera
views.
- Place a reflective marker (fixed point) anywhere in the view where the
Examinee or Assistant/Examiner will not block it during motion.
Camera Setup
- Look through the viewfinder, make sure you can see the entire frame - plus
enough space surrounding frame - to film the entire sequence.
- Set focus to auto focus then back to manual focus.
- Set shutter speed at 1/250 s.
[ Last revised on 01/12/2004 ]
Data Collection
| |
Examples |
|
Description |
| Markers |
 |
Four markers on each side |
| # |
Left |
Right |
Description |
| 1. |
L.HIP |
R.HIP |
Hip directly below shoulder marker when arm is abducted as far as
Examinee is able |
| 2. |
L.SHOULDER |
R.SHOULDER |
Lateral AC Joint |
| 3. |
L.ELBOW |
R.ELBOW |
Lateral elbow joint |
| 4. |
L.HAND |
R.HAND |
Mid dorsal hand, close to wrist crease |
|
| Calibration |
 |
Large calibration cube |
Check computer screen and recheck the position of the cube, the cameras, and
the fixed point.
Capture data for 0.5 s.
|
| Protocol |
 |
 |
Make sure Examinee is in center of view field. The Examinee must be aligned in the
field of the front portion of the calibration cube. If acceptable, proceed with
data collection.
Capture data for 25 s.
|
| |
Cervical Flexion |
Cervical Extension |
[ View typical results ] |
| |
Examples |
|
Description |
| Markers |
 |
Four markers on each side |
| # |
Left |
Right |
Description |
| 1. |
L.HIP |
R.HIP |
Hip directly below shoulder marker when arm is abducted as far as
Examinee is able |
| 2. |
L.SHOULDER |
R.SHOULDER |
Posterior AC Joint |
| 3. |
L.ELBOW |
R.ELBOW |
Posterior elbow joint |
| 4. |
L.HAND |
R.HAND |
Mid dorsal hand, close to wrist crease |
|
| Calibration |
 |
Large calibration cube |
Check computer screen and recheck the position of the cube, the cameras, and
the fixed point.
Capture data for 0.5 s.
|
| Protocol |
 |
 |
Make sure Examinee is in center of view field. The Examinee must be aligned in the
field of the front portion of the calibration cube. If acceptable, proceed with
data collection.
Capture data for 25 s.
|
| |
Cervical Flexion |
Cervical Extension |
[ View typical results ] |
| |
Examples |
|
Description |
| Markers |
 |
Two markers on each side |
| # |
Left |
Right |
Description |
| 1. |
L.ELBOW |
R.ELBOW |
Elbow |
| 2. |
L.WRIST |
R.WRIST |
Wrist |
|
| Calibration |
 |
Small calibration cube |
Check computer screen and recheck the position of the cube, the cameras, and
the fixed point.
Capture data for 0.5 s.
|
| Protocol |
 |
 |
Make sure Examinee is in center of view field. The Examinee must be aligned in the
field of the front portion of the calibration cube. If acceptable, proceed with
data collection.
Capture data for 25 s.
|
| |
Cervical Flexion |
Cervical Extension |
[ View typical results ] |
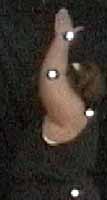
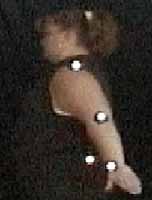
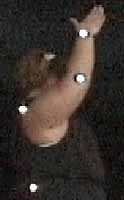
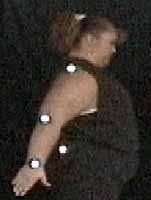
Shoulder Flexion/Extension
|
|
Picture 8:
LeftShoulder Flexion -
|
|
|
|
Picture 9:
LeftShoulder Extension -
|
|
|
|
Picture 10:
RightShoulder Flexion -
|
|
|
|
Picture 11:
RightShoulder Extension -
|
|
|
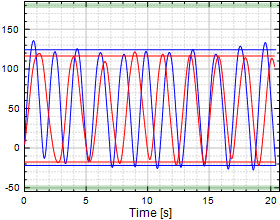
Chart 4:
Shoulder Flexion/Extension
|
|
|
|
Table 4:
Shoulder Flexion/Extension (F/E)
|
|
|
|
Shoulder Abduction/Adduction
|
|
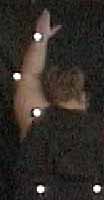
Picture 12:
LeftShoulder Abduction -
|
|
|
|
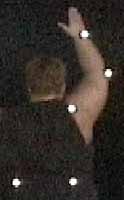
Picture 13:
RightShoulder Abduction -
|
|
|
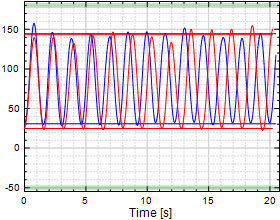
Chart 5:
Shoulder Abduction/Adduction
|
|
|
|
Table 5:
Shoulder Abduction/Adduction
|
|
|
|
Shoulder Internal/External Rotation
|
|
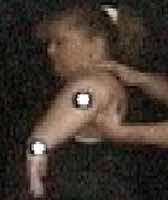
Picture 14:
LeftShoulder Internal Rotation -
|
|
|
|
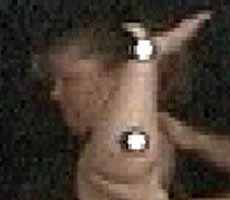
Picture 15:
LeftShoulder External Rotation -
|
|
|
|
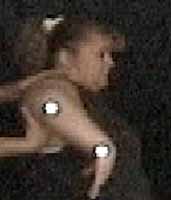
Picture 16:
RightShoulder Internal Rotation -
|
|
|
|
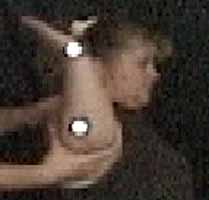
Picture 17:
RightShoulder External Rotation -
|
|
|
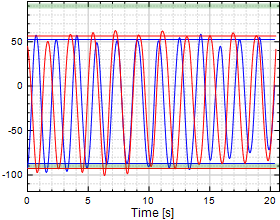
Chart 6:
Shoulder Internal/External Rotation
|
|
|
|
Table 6:
Shoulder Internal/External Rotation (I/R)
|
|
|
|
|
Summary 5:
Kinematic Shoulder Assessment
|
|
|
- Number of tests where Examinee performed subnormal:
10
of
12
- Number of tests where Examinee performed asymmetrically (one side worse than the other):
2
of
12
- Number of tests where Examinee performed worse on Left Side than on Right Side:
1
of
6
- Number of tests where Examinee performed worse on Right Side than on Left Side:
1
of
6
Significant Findings Kinematic Shoulder Assessment:
See also